Rendering With Wings(using Toxic, Yayfray, or OpenGL)
Installing Toxic
Installing Toxic
Adding Lights
Editing Lights
Rendering
Step 01
Wing3D not only has matured in the areas of modelling and mapping, but also in rendering. Using external renderers like Toxic or Yafray(even OpenGL) one can get excellent renders out of an model.
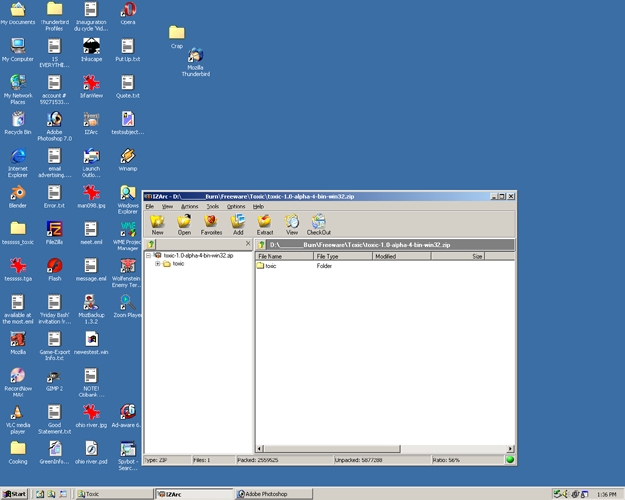
Step 02
Select Extract. Make sure the path you extract to is C:\. This will make a folder called toxic.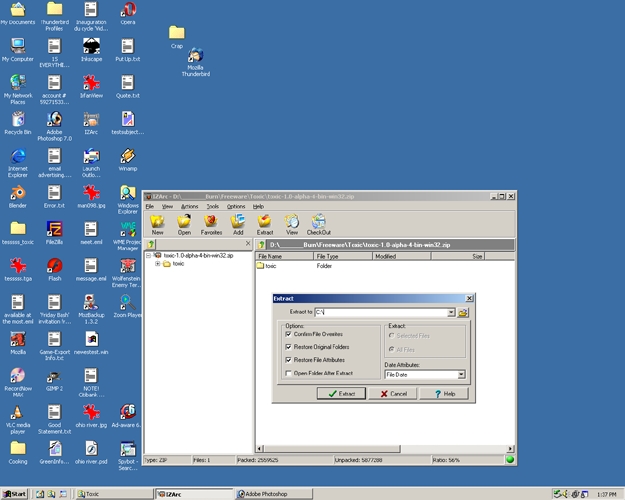
Step 03
Now all the necessary files for the Toxic Renderer are installed on the C Drive.(I opened Windows Explorer to show this.)
Step 04
Open Wings3D. Select Edit>Plug-in Preferences>Toxic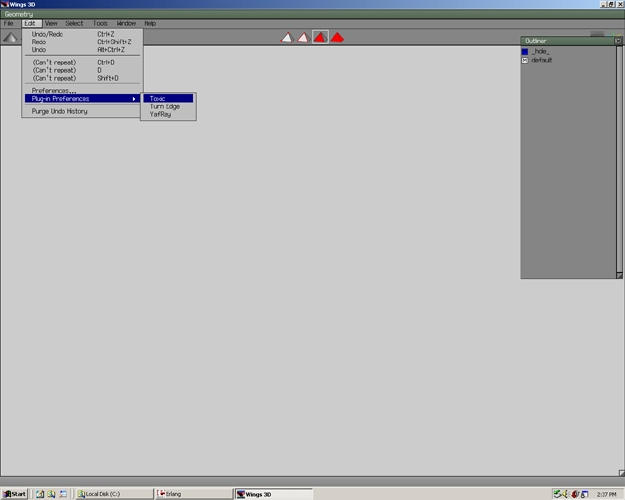
Step 05
A Toxic Options window will open. Select Browse.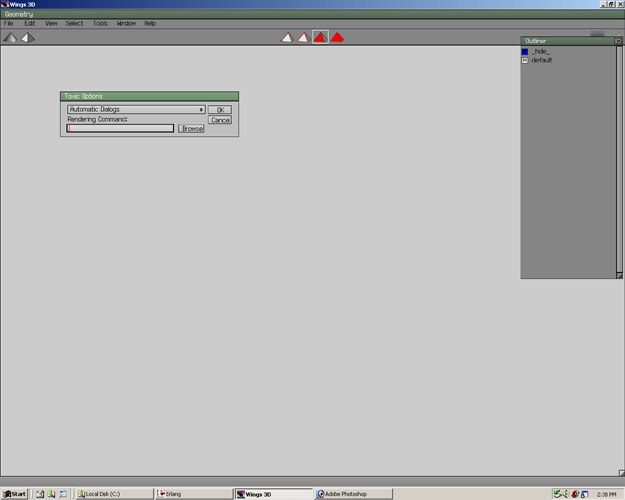
Step 06
Go to the C drive(Local Disk (C:)). Select the toxic folder and double click it with the mouse.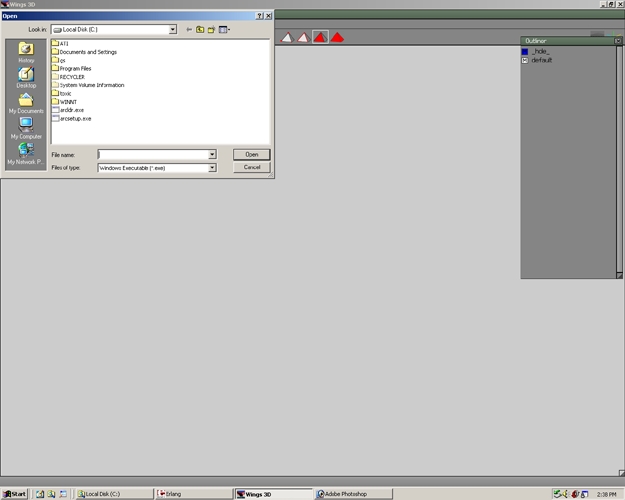
Step 07
Select the bin folder and double click it with the mouse.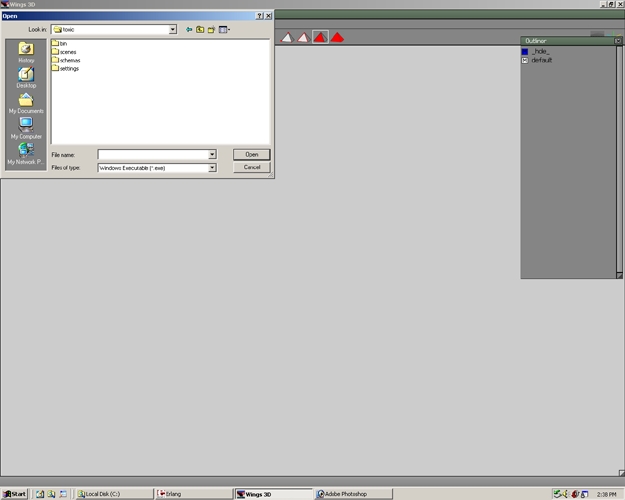
Step 08
Select toxic.exe and press the Open.
Step 09
Now in the Toxic Options window there will be the full directory path in the Rendering Command Option. This tells Wings where the render is at. Select OK.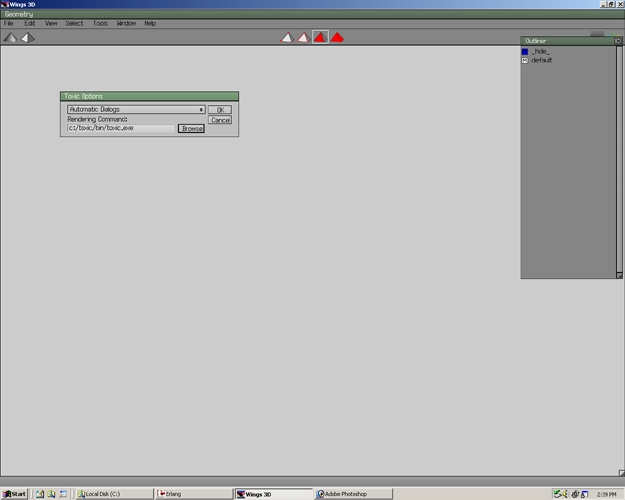
Step 10
Open a UVMapped and Textured Model. I'm using, a student, Kensuke Fukunaga's Dino model.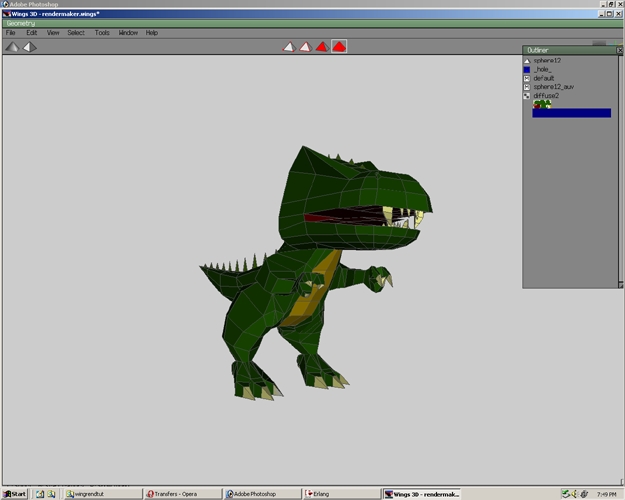
Step 11
To change the render file size go to File>Render and select the box next to the Toxic(.tga) option.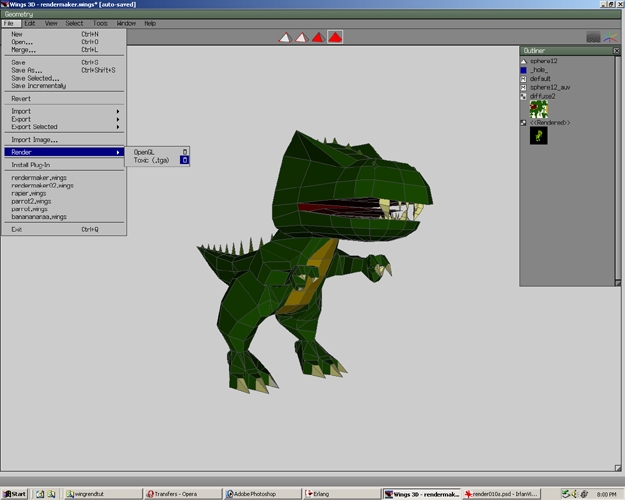
Step 12
There is a large amount of options in the Toxic Render Options window. The only one we'll mess with is the Output option. Change the width to 800 and Height to 600. Select OK. Now the render will output to a 800x600 pixel targa picture file.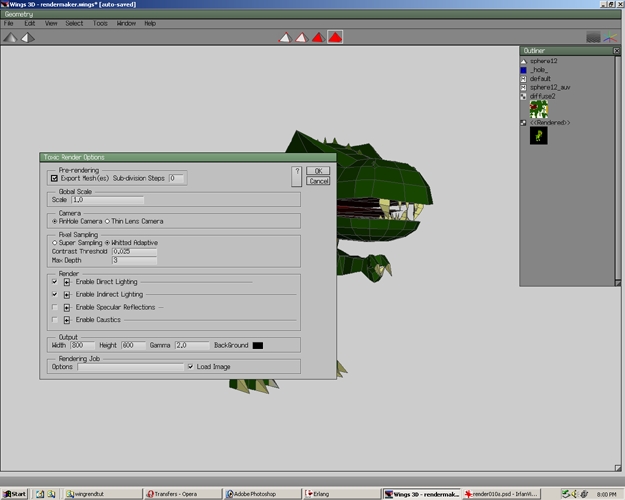
Step 13
A render dialog box opens immediately after selecting ok. Select cancel and the render will cancel but the settings made before will stay intact.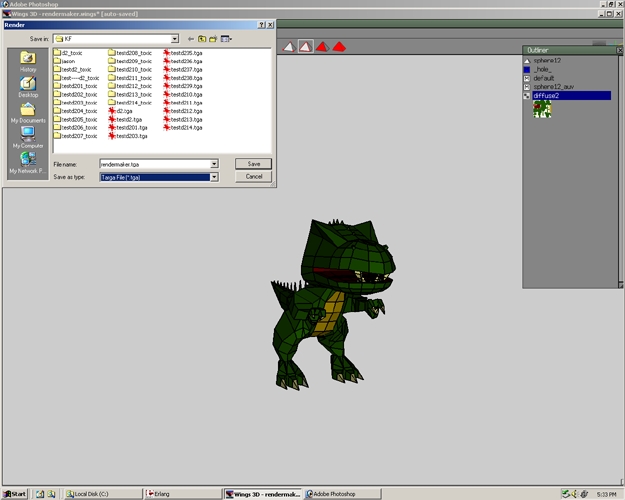
Step 14
To render this time select File>Render>Toxic(.tga)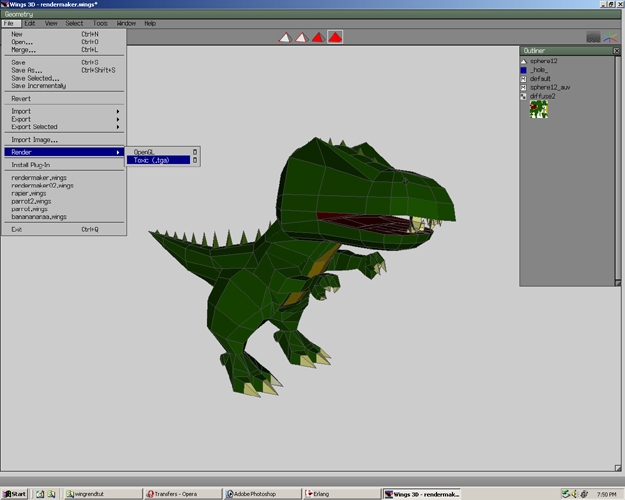
Step 15
Again in the render dialog box there is the option of saving the picture file for the render. Select Save.
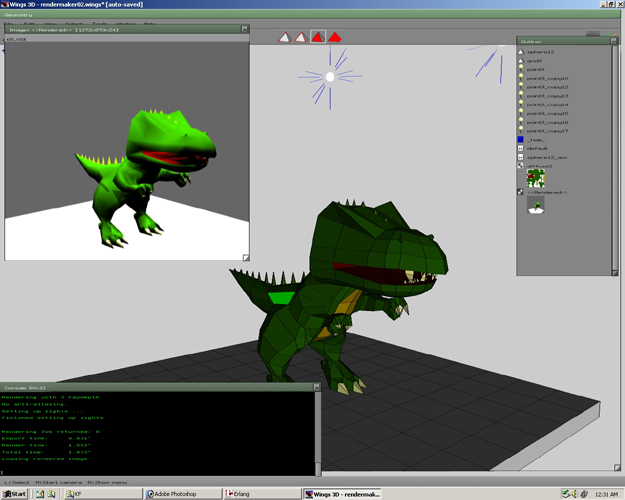
Step 16
Notice a few things happened. A console box appeared in the lower lefthand corner. This gives you details on the rendering process. Also the rendered image appeared above it. This rendered image has not values because there are no lights in our scene. Close the render window.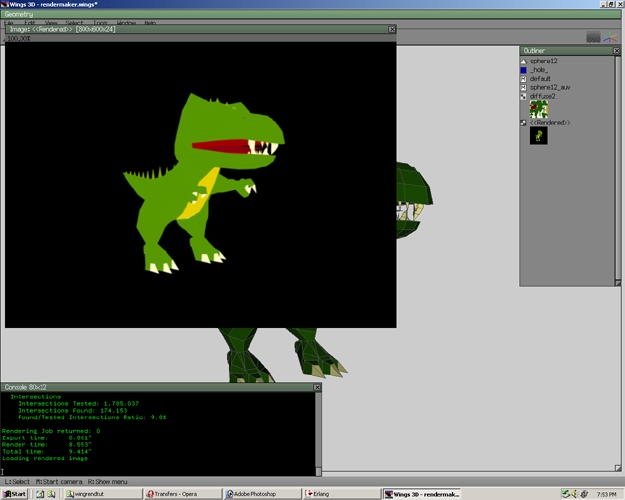
Step 17
To make a stand for the Dino(and for cast shadows) right click and select Grid.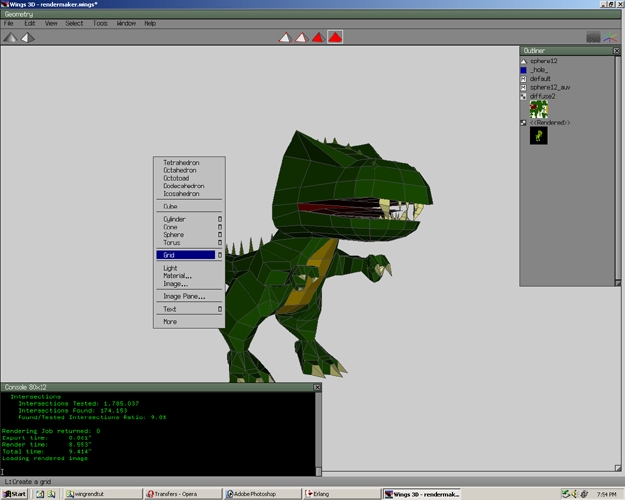
Step 18
The grid is going through the creature head. Select the body of the grid and move it on the Y axis.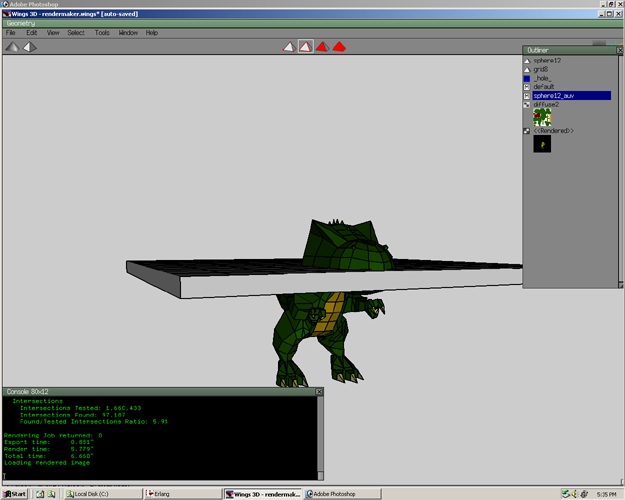
Step 19
Move it approximately below its feet.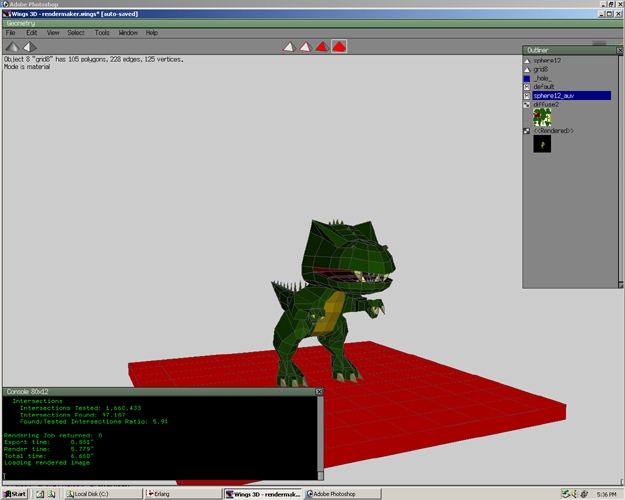
Step 20
To more accurately place the grid below its feet press X to look at the grid on the X axis. Right now we are in Perspective mode so the view may not be accurate when moving the grid.
Step 21
Select the unshaded pyramid in the upper lefthand corner. This will change the view to Isometric Mode. In isometric mode all parallel line are always equal instead of being in perspective.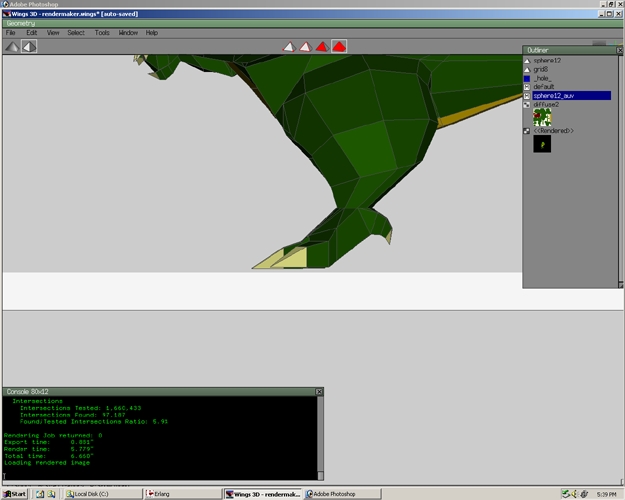
Step 22
Select your object(our Dino) and move it so the grid and object are touching.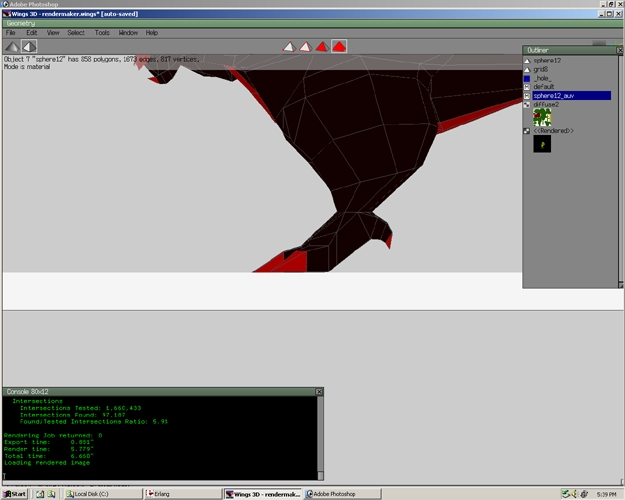
Step 23
Go into look mode and zoom out. The isometric mode should look a little wierd. Select the pyramid again to go back to perspective mode.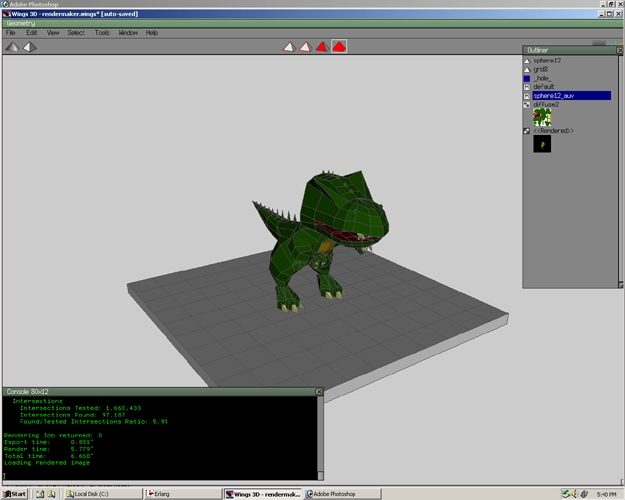
Step 24
Render as described earlier. This time change the name to yourfilename02. Select Save.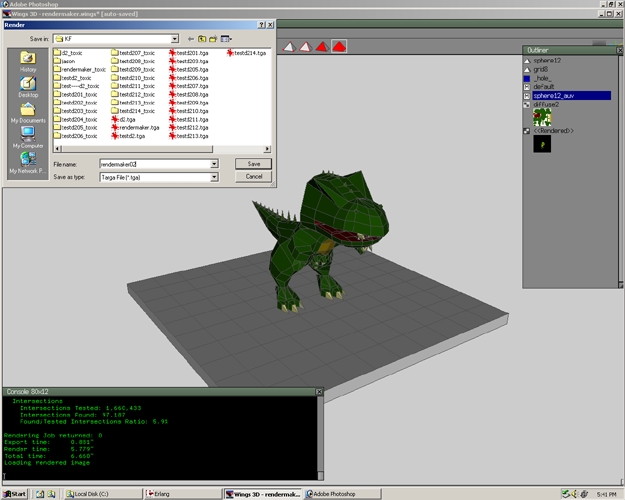
Step 25
Now the Dino and platform are rendered but we still need shadows. Close the render window.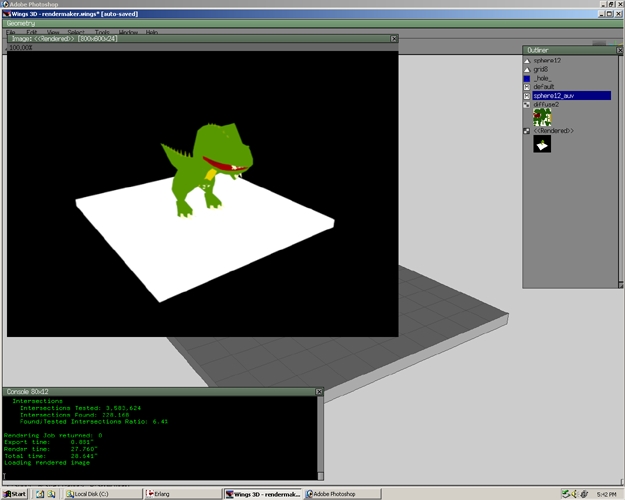
Step 26
Press Y and zooom out to see the model directly above on the Y axis. To add a light select body. Right click on an empty area of the screen and select Light.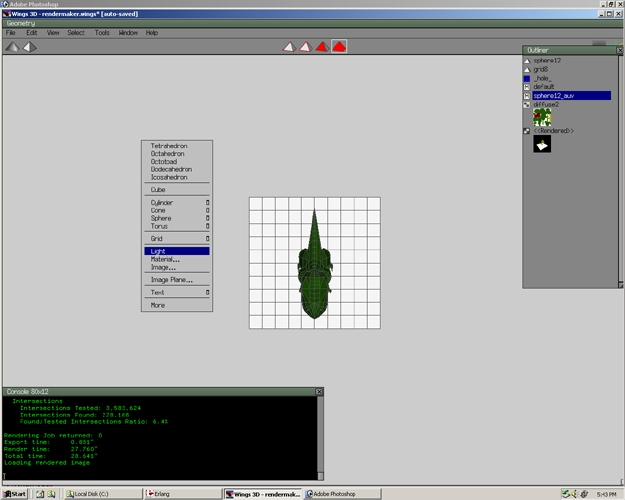
Step 27
Select Point.Now a light has appeared in the middle of the screen.
Step 28
Select the light and it will turn red on its rays. Right click and select Move.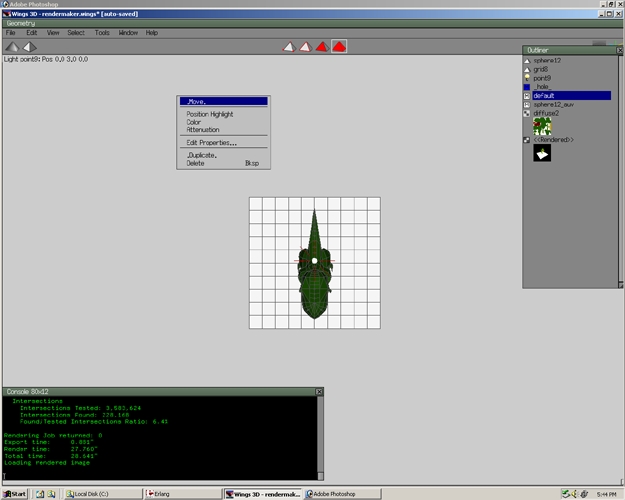
Step 29
Select free.
Step 30
Move the light to the area shown in the picture. Because we are on the Y axis when we move free it will only move on the XZ plain. This means that the light will not move down or up(on the Y axis).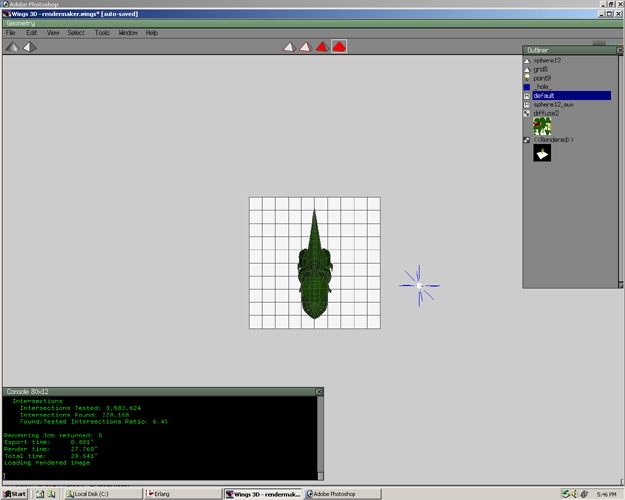
Step 31
Move the model to a good view. Render as yourfilename03.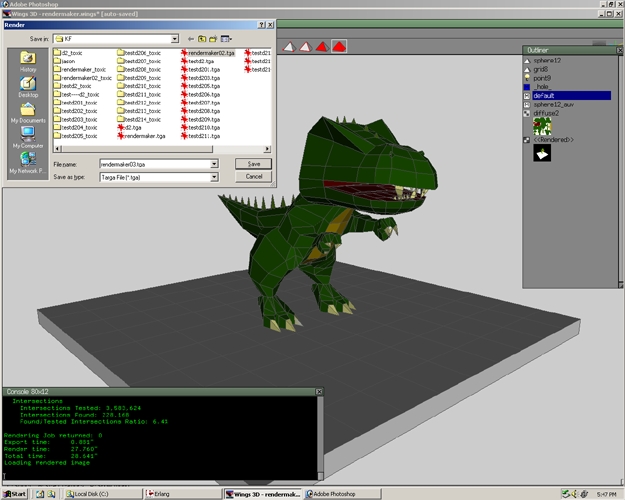
Step 32
Now we have a dark shaded version of the Dino with shadows. Close the render window.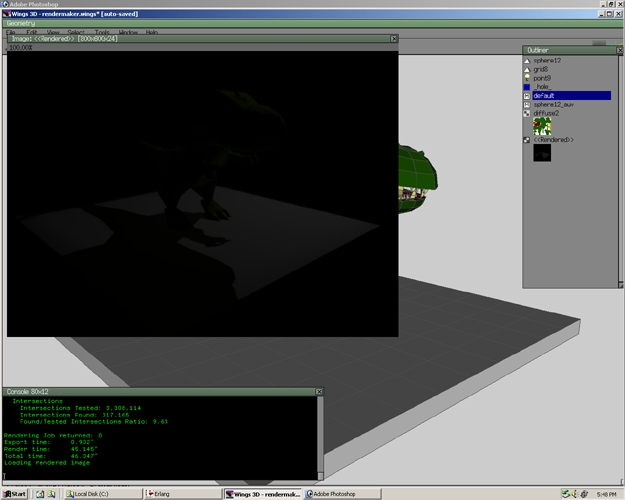
Step 33
Go back to the above position as described earlier. Select the light. Right click and select Duplicate.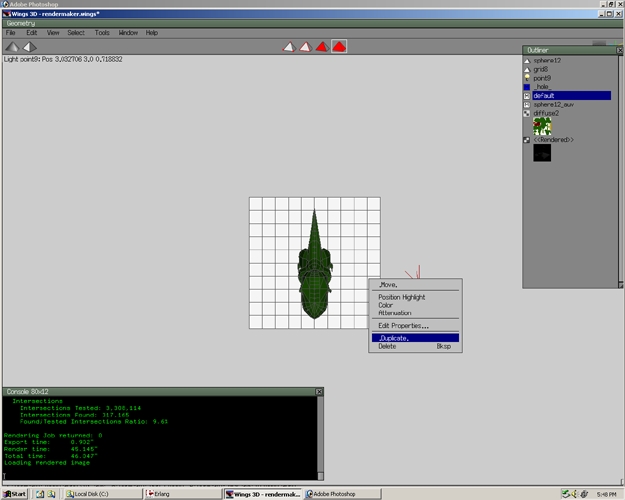
Step 34
Select X.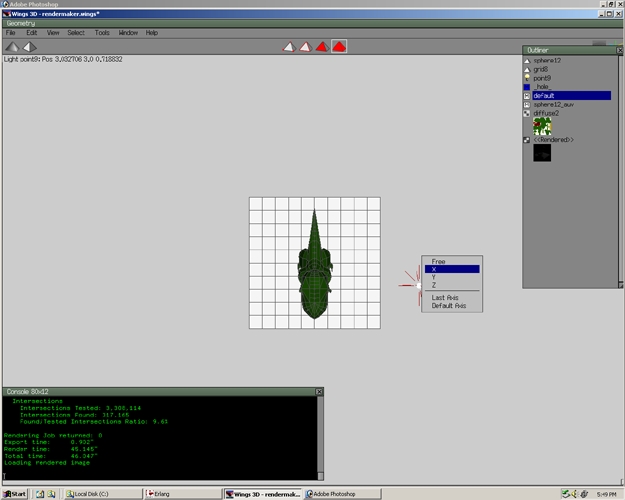
Step 35
Drag the light to the position as shown. Press space.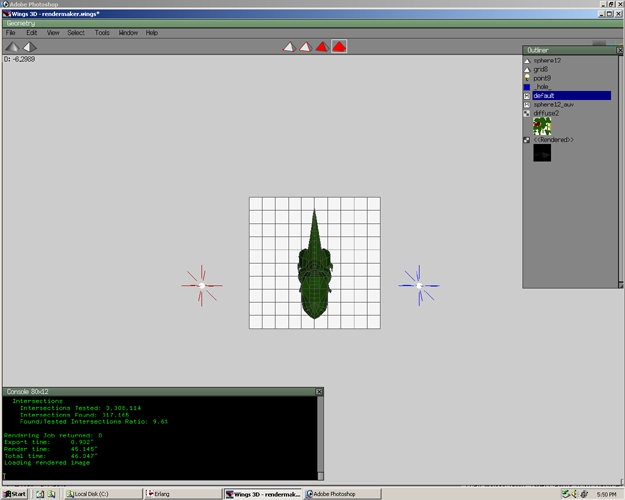
Step 36
Move the viewpoint to a good position and render again. Now there is a little more light in the scene. Close the render window.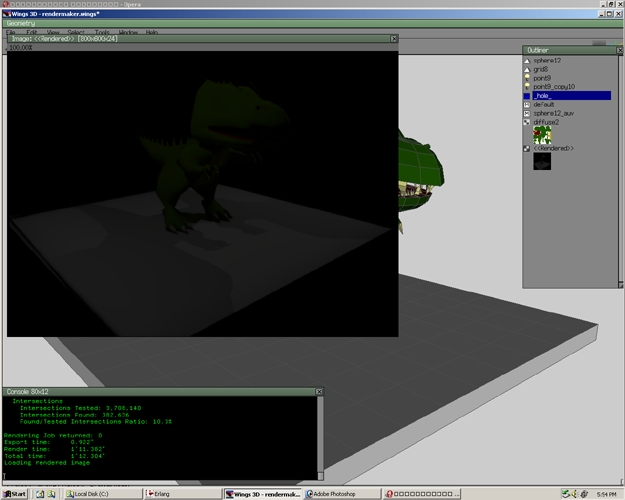
Step 37
Duplicate and move more lights.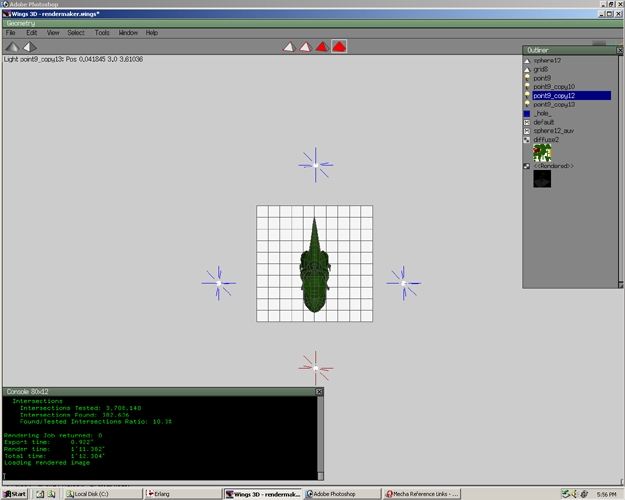
Step 38
Render again. As you can see more lights mean a brighter model.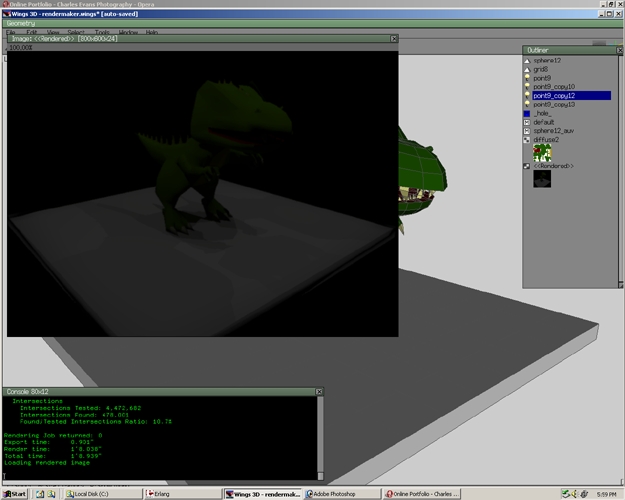
Step 39
Duplicate and move more lights. Notice I am making a circle around the model to evenly spread the lighting.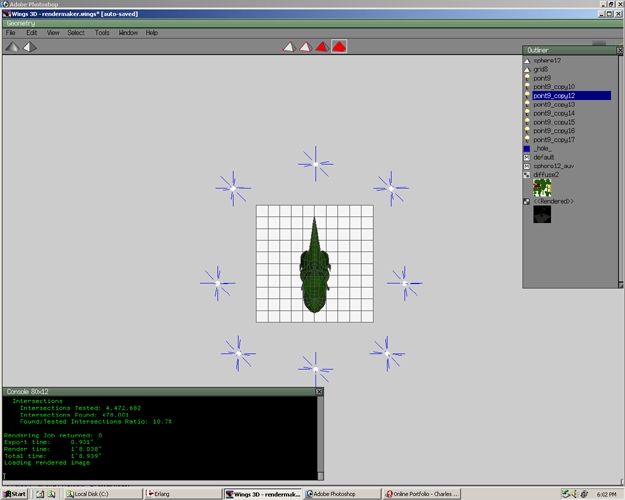
Step 40
Position and then render the scene. The Dino is looking better but it still isn't bright enough.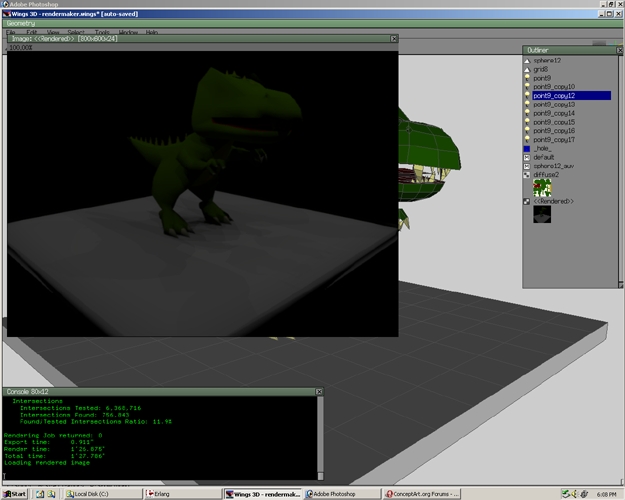
Step 41
Select on a light. Notice a description of the light appears in the left hand corner of the Wings3D window.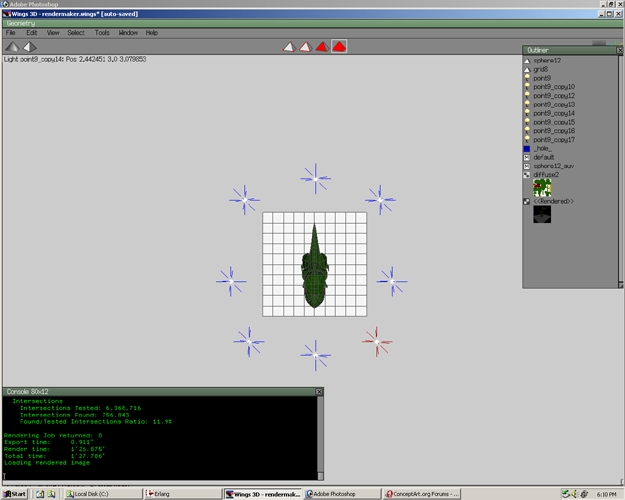
Step 42
Using that description find the name in the Outliner window that corresponds to the light name in the left corner. Select that name in the outliner window.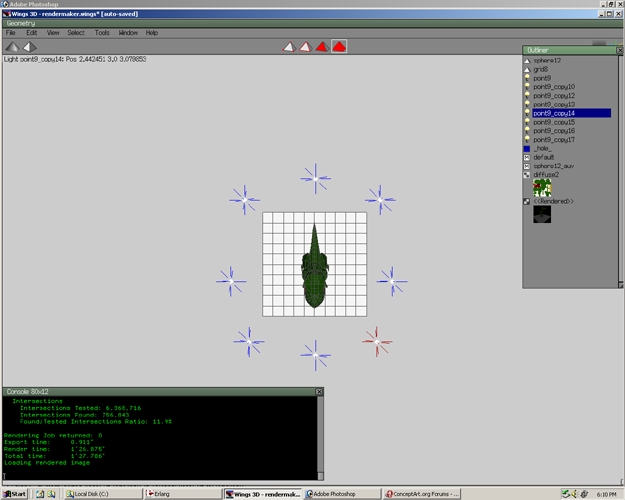
Step 43
Right click on the name and select Edit Light.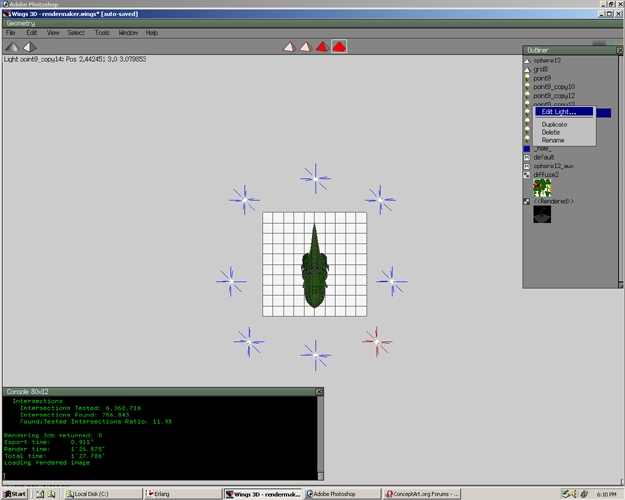
Step 44
A Light Properties window will appear. Select the + next to the Toxic Options.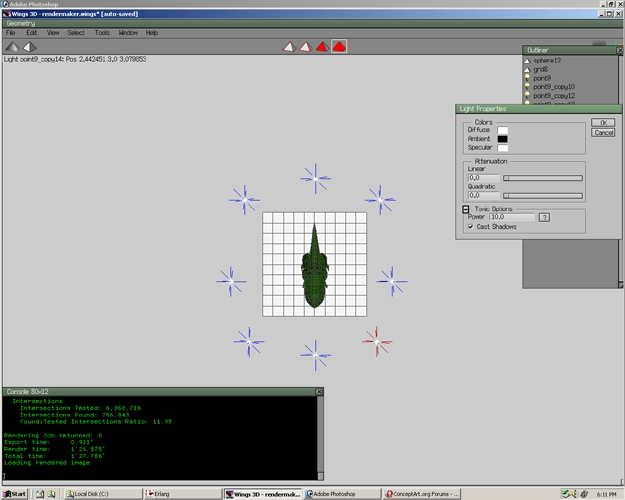
Step 45
Change Power 10 to 50. Select OK.
Step 46
Render again. Now the model is getting brighter on one side.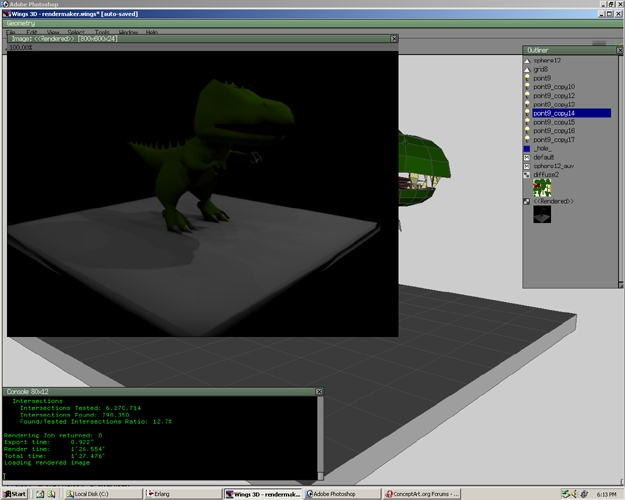
Step 47
Another easier way to edit the light is to select the light. Right click and select Edit Properties.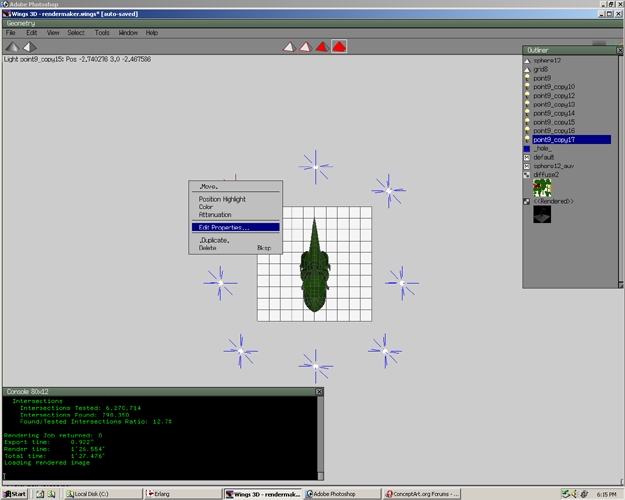
Step 48
Notice the same window popped up. Change the Power value again to 50. Do this for all the lights.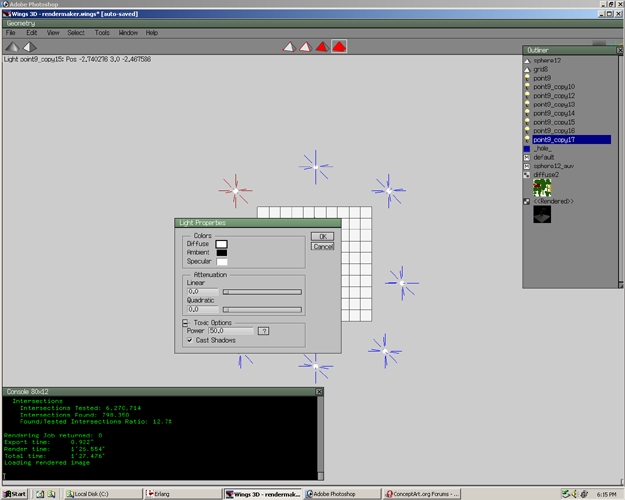
Step 49
After all the lights have been changed to a power of 50 this is what the resulting render looks like. Close the render window. Don't forget to save. To get different brightness add more lights, change power values, or move lights. Experiment and see what happens!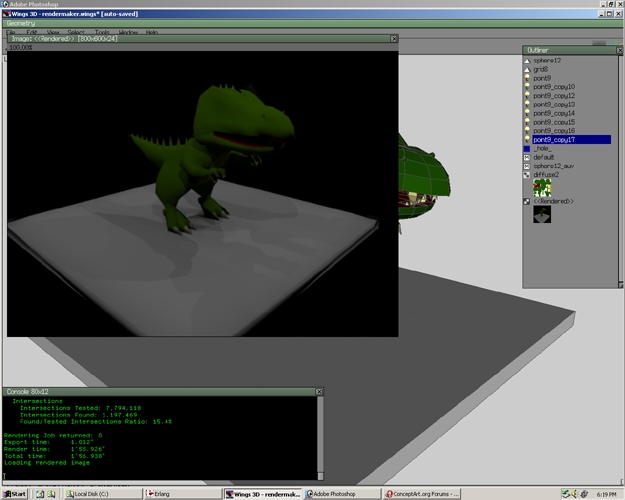
Step 50
Yafray is is yet another renderer. It can give different results than toxic. Installing Yafray is very similar to Toxic. Select the installer exe file. This will open a Setup wizard. Select Next.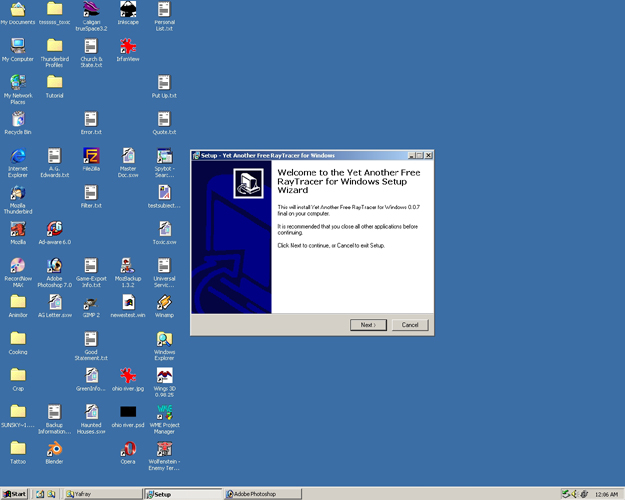
Step 51
Change the directory listed to C:\yafray. Select next. Keep selecting next until the wizard is done.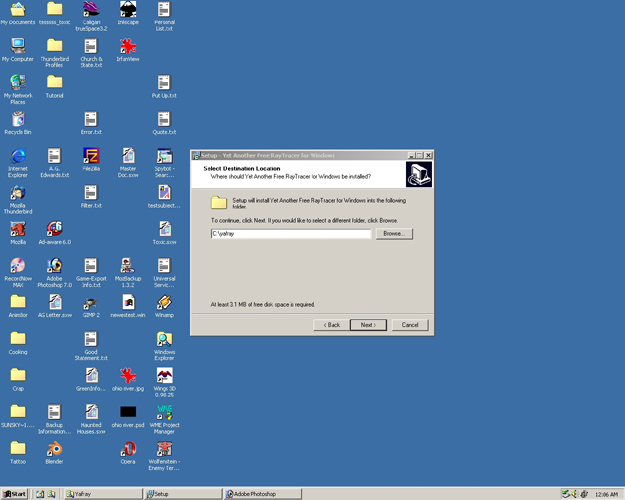
Step 52
In Wings 3D go to Edit>Plugin Preferences>Yafray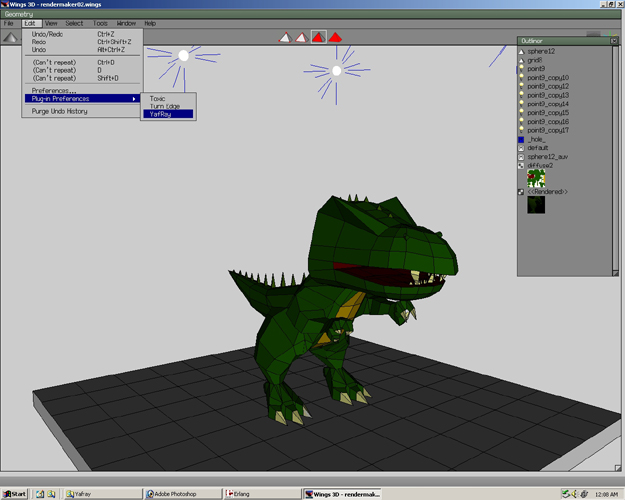
Step 53
The Yafray Options window will appear. Select the Browse button.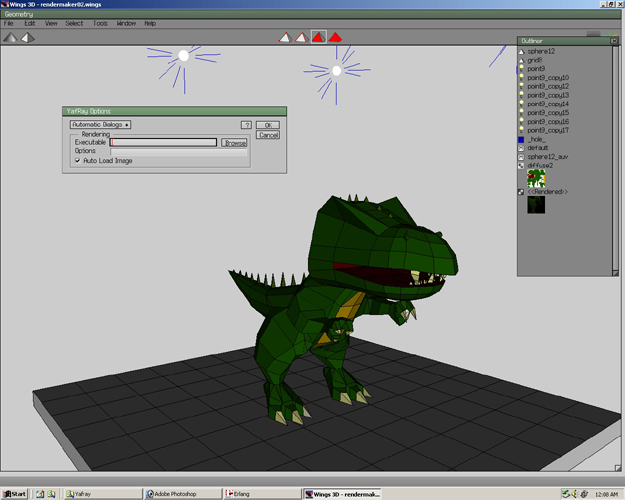
Step 54
Go to the C: Drive then select the Yafray folder. Select Open.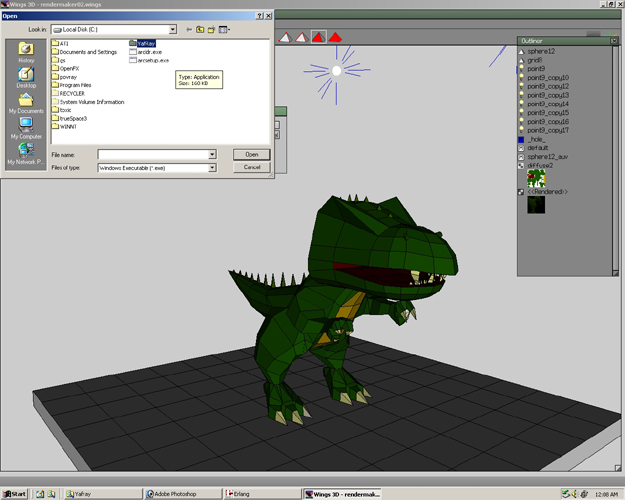
Step 55
Select the yafray.exe. Press Open.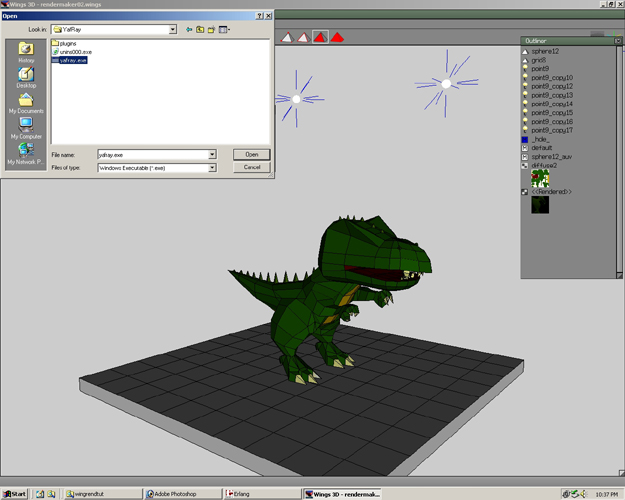
Step 56
In the selection section is should now say C:\yafray\yafray.exe. Select OK.
Step 57
To set up the render options, Go to File>Render> and select the box to the right of yafray.
Step 58
The Yafray Render Options Window will now appear. Change the Camera options to be width 800 and height 600. This will change the render files to be 800x600 pixels. Select OK.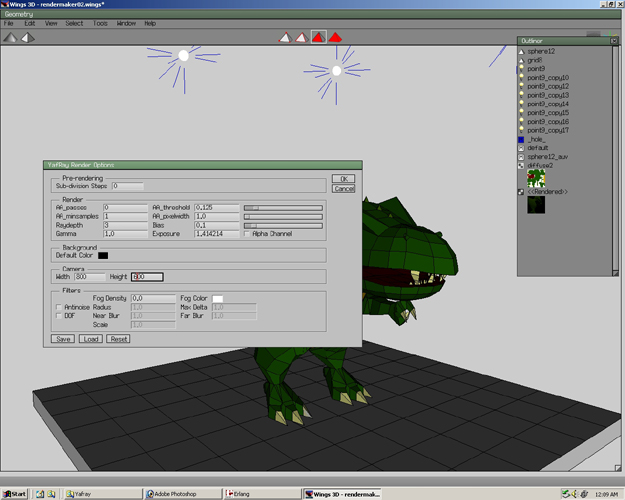
Step 59
Right now you could render the file but select cancel.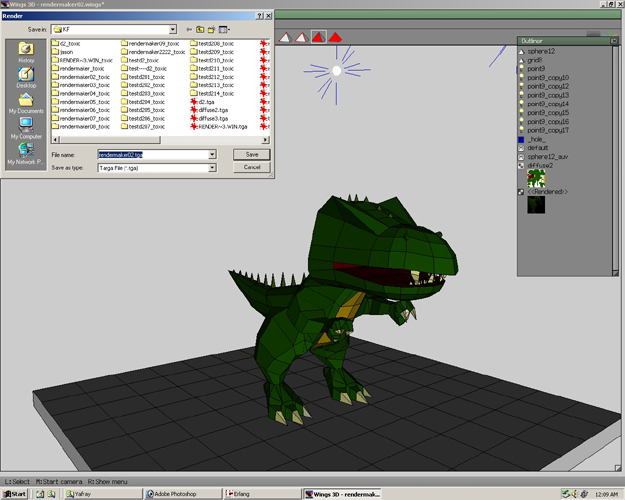
Step 60
Now go to File>Render>Yafray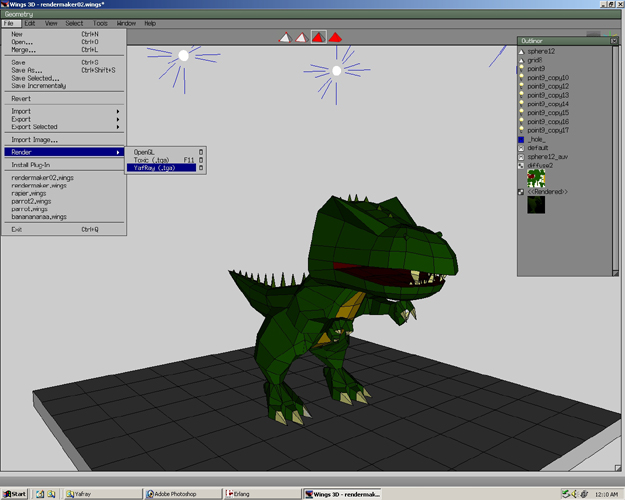
Step 61
Save the file. Now the file will start rendering.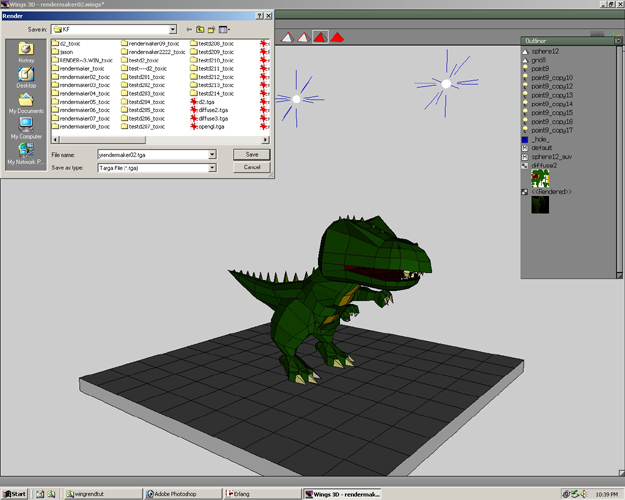
Step 62
Notice the render looks different. That is because you used Yafray.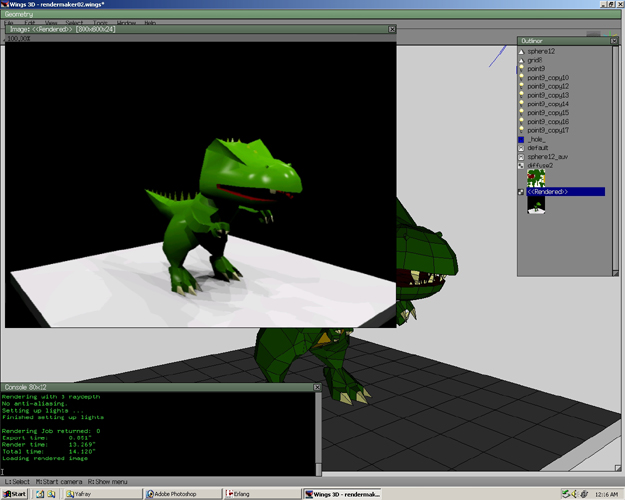
Step 63
Just like with Toxic renderer you can change the properties of the lights specific to the renderer. Get into the light properties window by editing a light. Select the + next to Yafray Options. Notice you can change the light properties. That's it for the basics of Yafray. Play around with settings to learn more on how they work.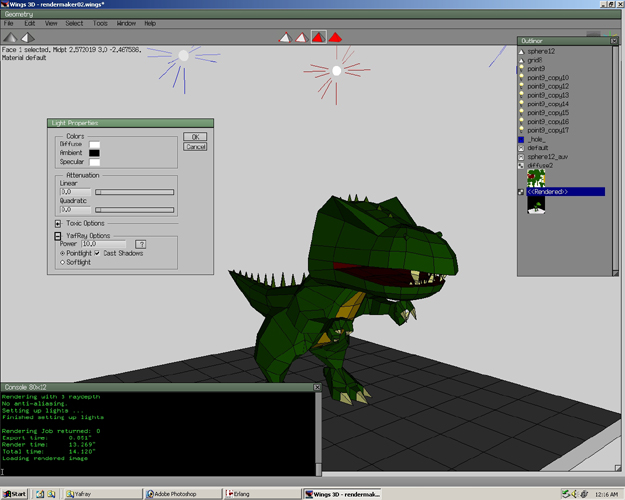
Step 64
The final renderer we will deal with is the renderer used to display Wings3D the OpenGL renderer. On my computer I changed my video display setting to make use of any advantages of OpenGL. That is why the screen will look different. I thought it would change the renders---it did not. You DO NOT have to change you video settings to get a better render. Anyway onto the render. Go to File>Render and select the box next to OpenGL.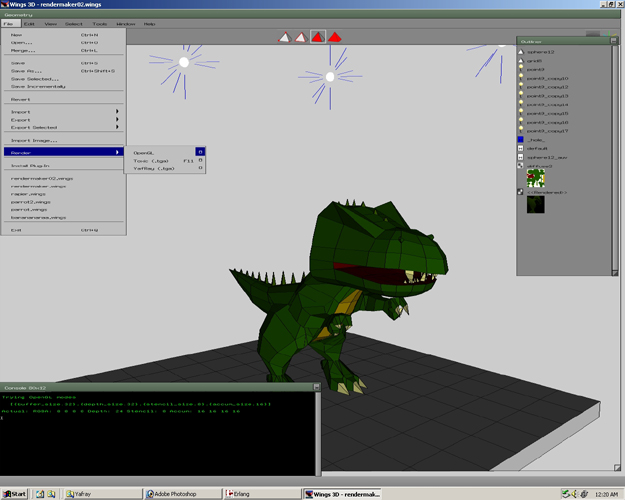
Step 65
Now a Render Options window will appear. Directly below Render Options change the drop down box to Premium Quality. Under Render Output, select file. Then press the Browse button to make a place to save the file.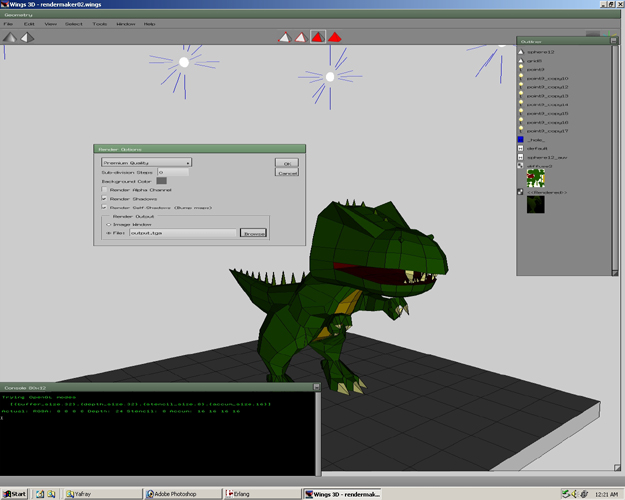
Step 66
Write a desired name and select Save.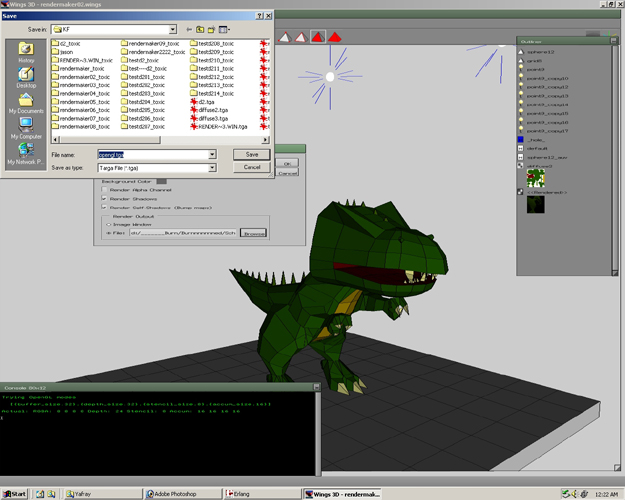
Step 67
It will save the file in the directory where you told it to be saved. Go to that directory and open the file with a picture viewing program(I use Irfanview). Now you can see the render.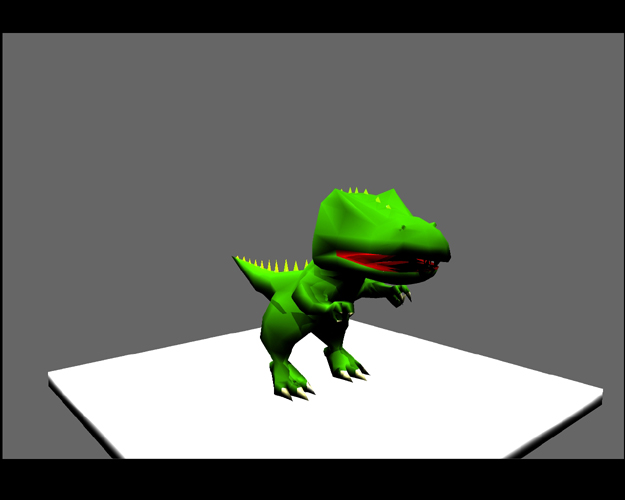
Step 68
If you want to see the OpenGL renders in Wings 3D's image window, go back to the Render Options Window for Open GL. Under the Render Output, select image window. Now when you render it will appear in a window like Toxic or Yafray renders. To resize the window select on the bottom right hand corner of the image window with the left mouse button. While still holding the left mouse button drag the mouse to resize the window.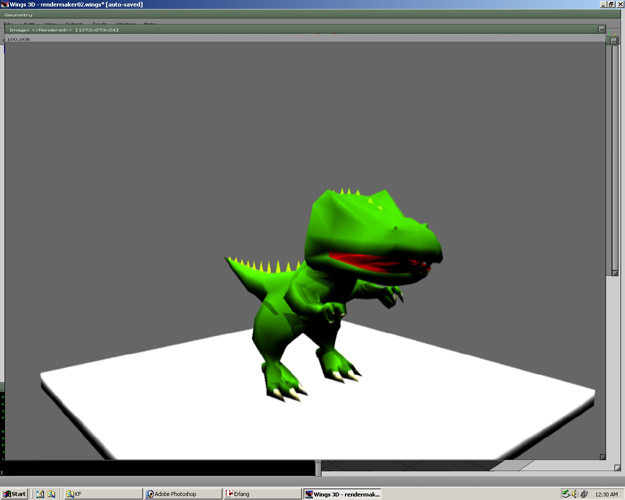
Step 69
Now the render view is smaller. In the ouliner window a small picture of the render is available but for some reason you cannot export the render. My suggestion would be to make a screenshot of the render or use the previous method described for outputing your OpenGL renders. In conclusion, each renderer has different qualities, advantages and disadvantages. Play around to fully understand each renderer.