Learning Basics of Gimp
Selection Tools
Mask Tools
Zooming
Layers
Cutting & Pasting
Eyedropper
Clonestamp
Opacity Changes
Color Adustments
Cropping
Gradient Tool
Step 01
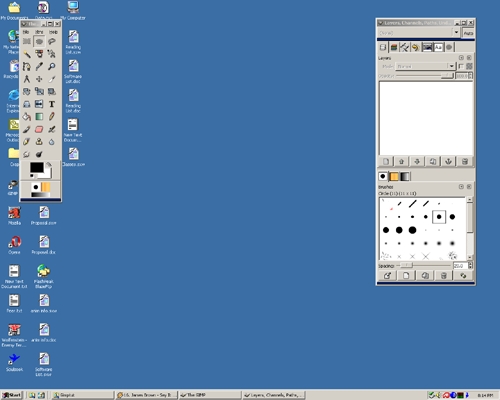
Welcome to Gimp 2: a suprisingly powerful program with many sublte improvements from its previous incarnations. In this tutorial you will learn some of the basic workings as well as some of the advanced methods by manipulating two photos. This is what Gimp 2 looks like when opening it for the first time. The Toolbox is the dialog to the left. The Options, Layers, Brushes, etc.. dialog box is to the right. Each option is in a little tab marked with an icon.
Step 02
In the left hand dialog box select File, then open.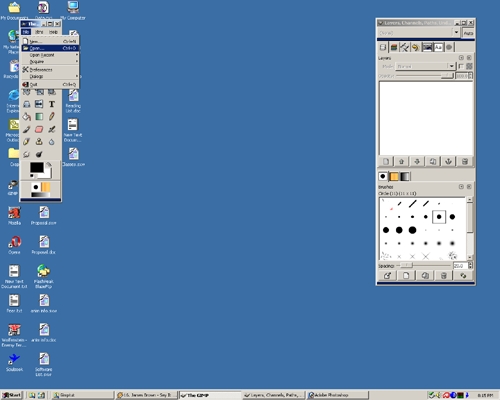
Step 03
An Open dialog box will appear. On the left side of the Open dialog box select the appropriate drive for your file(you drive is probably C:\ or U:\) and hit enter. My drive is F:\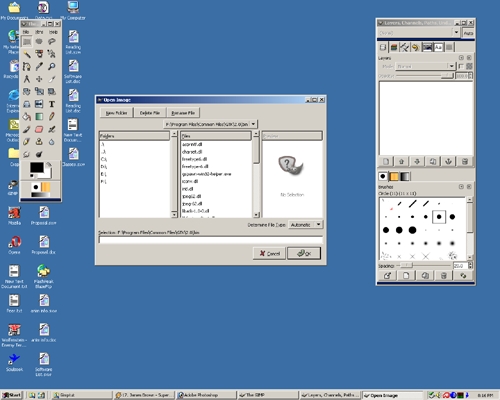
Step 04
It will now show the folders of the F Drive. Scroll the left dialog vertical scrollbar until you find the correct folder. My folder is Gimptut.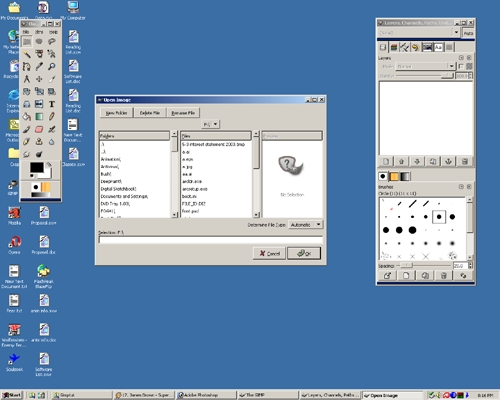
Step 05
Select the appropriate folder and hit enter.
Step 06
In the middle dialog box there will be a list of files. Scroll the left dialog vertical scrollbar until you find the correct file. It will be named F1000035.jpg. Select the file and press OK.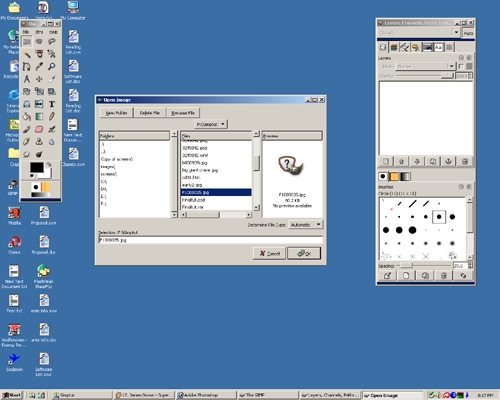
Step 07
Now our wonderful picture is ready to be messed with. Notice the filename F1000035.jpg appears in the top blue bar of the picture window. Select the rectangular selection tool in the toolbox. It is the square icon in the left side of the first row of the toolbox.
Step 08
Drag the rectangular select tool over an area by holding the left mouse button and dragging it over an area. (The picture was zoomed in for better clarification)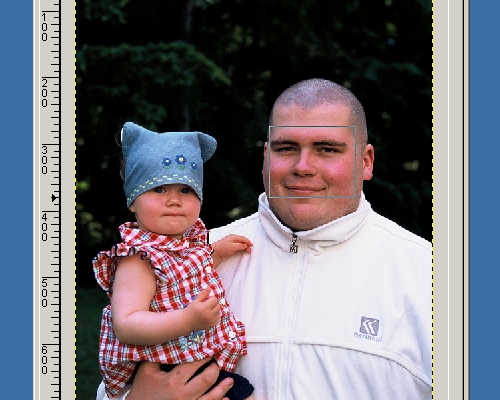
Step 09
The way Gimp handles selections has now changed. Ask your instructor on how it has changed.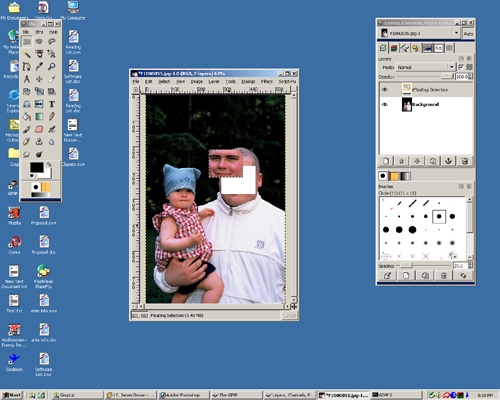
Step 10
The way Gimp handles selections has now changed. Ask your instructor on how it has changed.
Step 11
The way Gimp handles selections has now changed. Ask your instructor on how it has changed.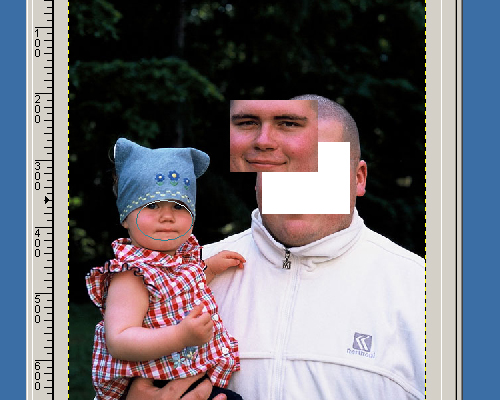
Step 12
The way Gimp handles selections has now changed. Ask your instructor on how it has changed.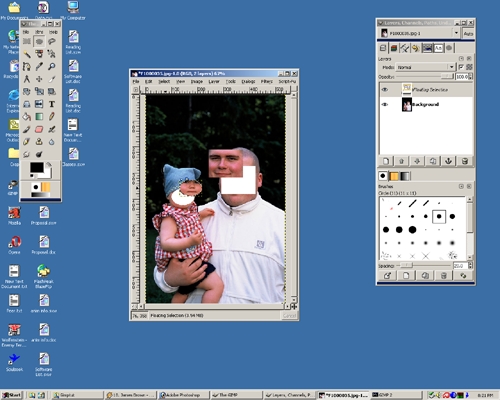
Step 13
The way Gimp handles selections has now changed. Ask your instructor on how it has changed.
Step 14
Now hold Ctrl and press Z(also seen as Ctrl+Z). Repeat this process untill the picture is back to its original appearance. This is called Undo.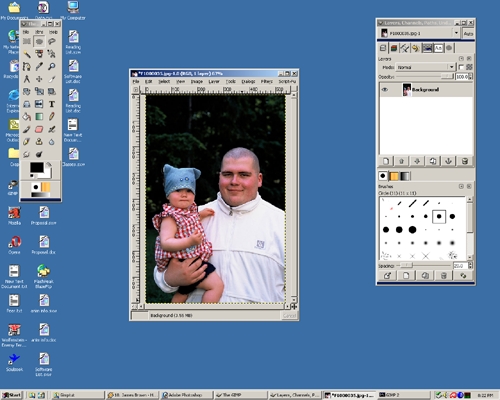
Step 15
The next selection tool directly to the right of the circular tool is the Lasso tool. Draw the tool around a certain area by holding the left mouse button. Once finished hit enter and a dotted line will appear.
Step 16
The way Gimp handles selections has now changed. Ask your instructor on how it has changed.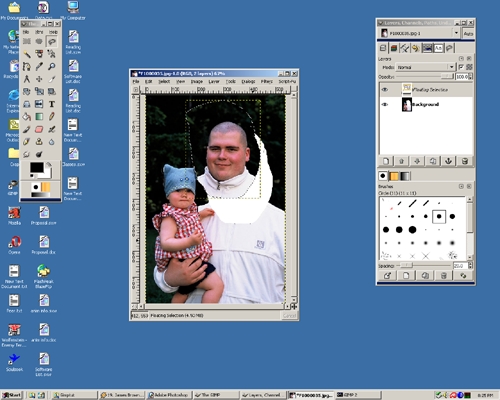
Step 17
Undo again. Select the Magic Wand selection tool from the toolbox. It is the left icon on the 2nd row of the toolbox. Click your left mouse button quickly twice(or more) on the icon and the Options dialog should appear in dialog box on the righthand side. In the Options dialog change the threshold value to 2.9.
Step 18
Select the black area in the top righthand corner of the picture. Notice it selects some of the picture.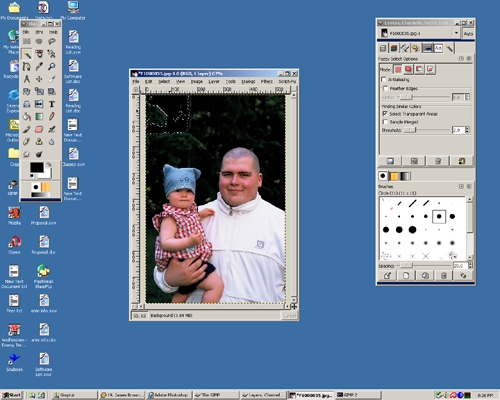
Step 19
The way Gimp handles selections has now changed. Ask your instructor on how it has changed.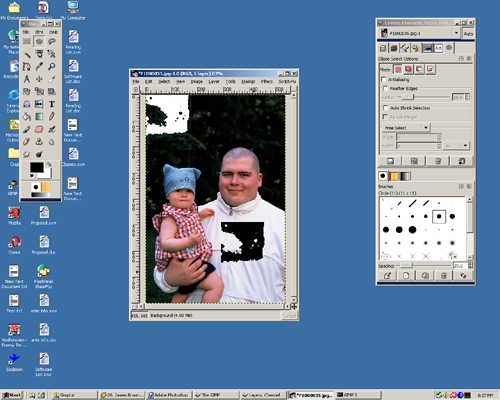
Step 20
The selection tool works by selecting and area based on a specific range of values. If you increase the value of the threshold(thereby increasing the range), the selection area becomes greater. Now change the value of the threshold to 8.7. Select that same area as before. The selection area should have increased.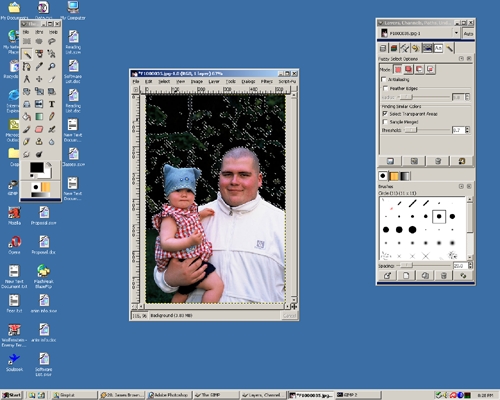
Step 22
Like before the selection area can be dragged.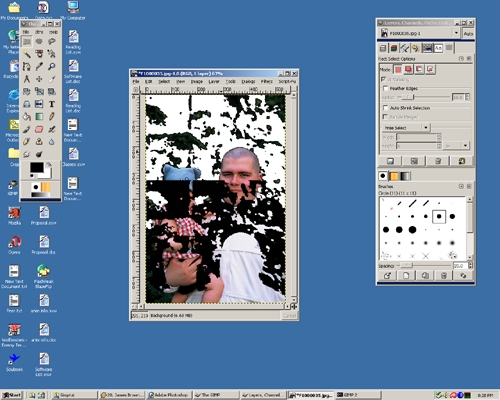
Step 23
Undo everything again.
Step 24
Use the lasso tool and select around the man and child. Make sure to circle around the border of the lower area of the picture.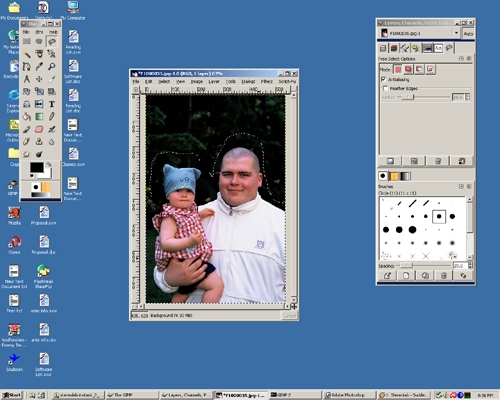
Step 25
Hold down the shift+Q. This should change your picture to mask mode. Notice the pink on the unselected area. Another way of selecting mask mode is by selecting the rectangle in the left corner of the very bottom of the picture dialog box.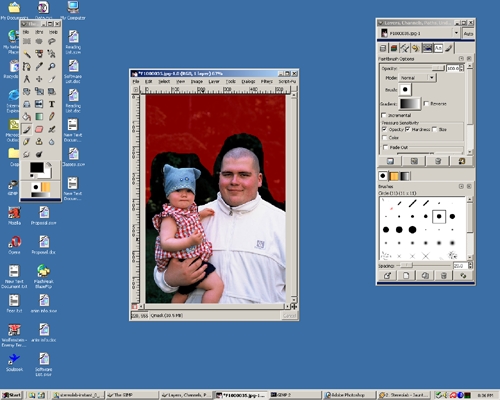
Step 26
Mask mode allows you to make cleander selections by using a brush or pencil tool to paint areas. Notice the colors near the bottom of the Toolbox dialog are black and white. The black will add pink. The white will remove pink. To select between Foreground(top) and Background(bottom) colors use the arrow next to the colors. On the bottom of the Options dialog box there is a brush selection toolbar with varous circle, fuzzy circles, etc... Selecting on of the different brushes will change how the brush paint on the picture. Paint around some of the space so there is more pink closer to the man and child.
Step 27
To zoom in hold shift then press +. Shift and - will zoom out. The objective is to get the pink drawn as closely to the man and child. This will make the cleanest selection possible.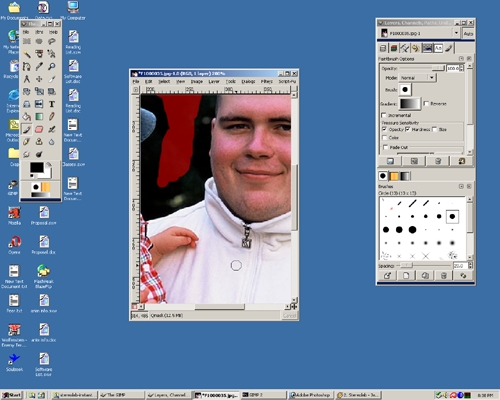
Step 28
To further illustrate using white to remove and area here is an untouched pink area.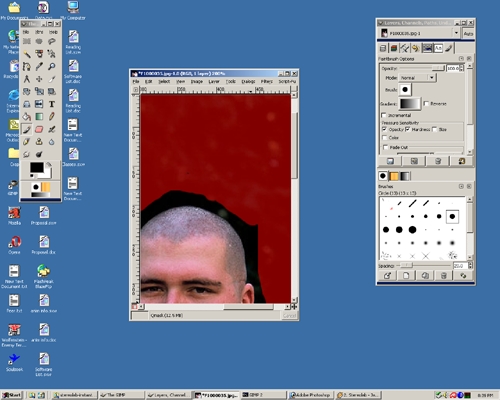
Step 29
Here is white drawn in that area.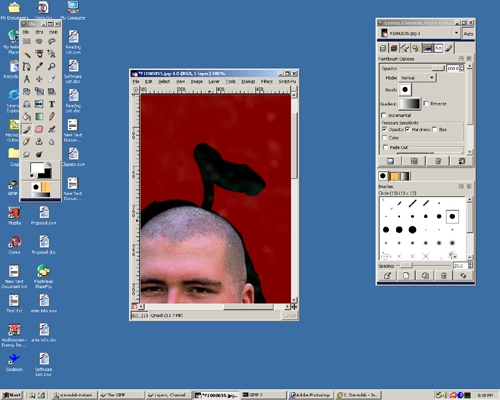
Step 30
Select a soft or fuzzy circle from the brushes to get a "softer" cut or edge.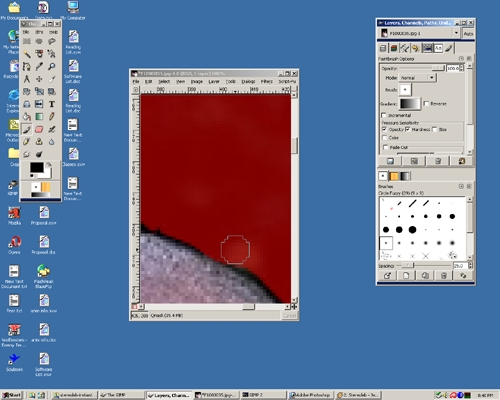
Step 31
Slowly but surely the pink is getting closer to the man and child.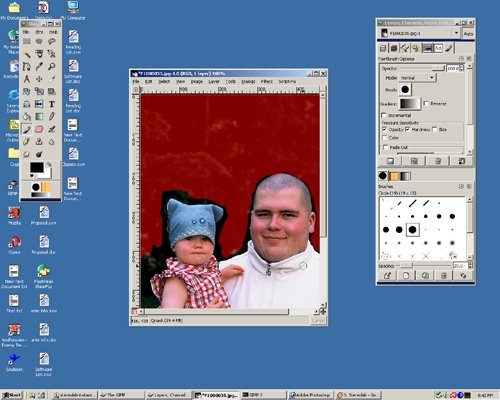
Step 32
Move the mouse cursor to the bottom right edge until you see a diagonal arrow. Hold down the left mouse button and drag diagonally toware the right. This will resize the window.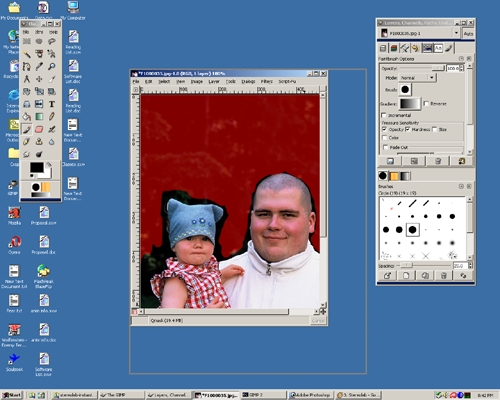
Step 33
Notice that the window is bigger.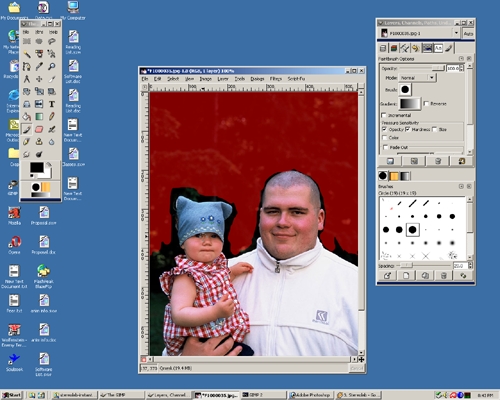
Step 34
Do the same thing to the top left cornder to make the window even larger.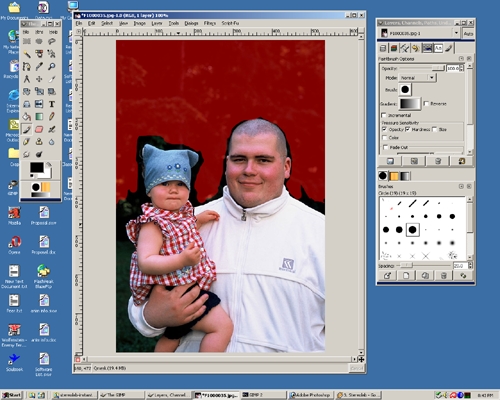
Step 35
Put even more pink around until it is close to the edges of the man and child.
Step 36
Now zoom in again. Make sure to select a smaller brush and pain right up to the edge. Notice how the ear is made up of multiple colored squares. These are called pixels.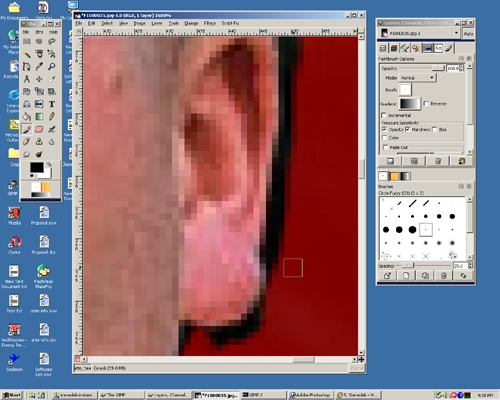
Step 37
Zoom out and the different pixels blend together to get a sharper image.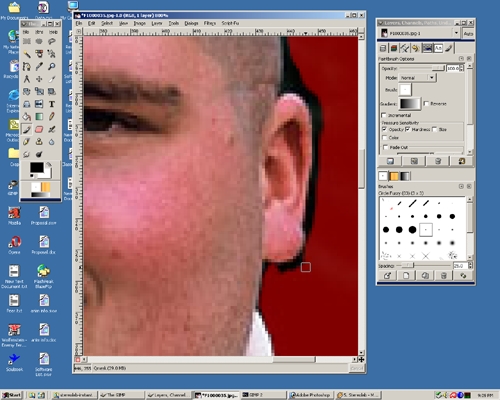
Step 38
Zoom out again and the ear gets even sharper.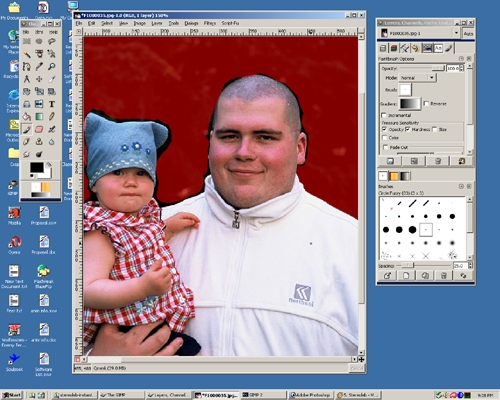
Step 39
Zoom back in and continue to draw.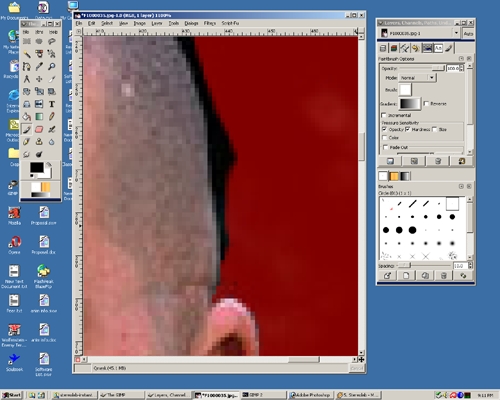
Step 40
Hold the middle mouse button or select the crosshairs(in the lower right corner of the picture window) to move the view of the zoomed image over.
Step 41
Hit F11 to go in or out of full screen mode.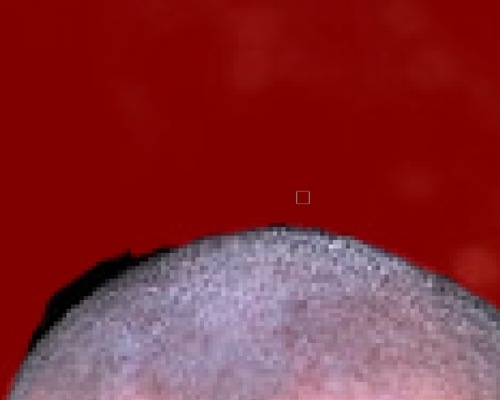
Step 42
Once the pink is perfectly painted around the objects, get out of the mask mode.
Step 43
Now there is a dotted line around the man and child.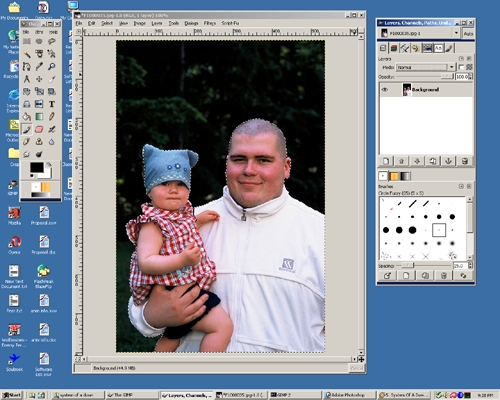
Step 44
Right click on the image and select Edit, Copy(Ctrl+C). Thenk select Edit, Paste(Ctrl+V).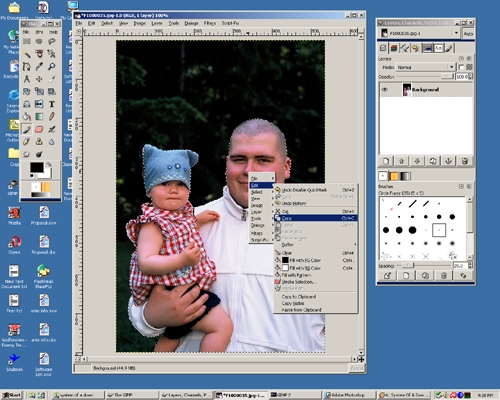
Step 45
Select the Layers tab which looks like three stacked papers. It is in the right hand dialog box. In the middle of the dialog box there is a button in the far left side which looks like a sheet of paper. Press it and a new layer will appear. **This step looks slightly different than the tutorial it will be fixed soon.**
Step 46
**This step looks slightly different than the tutorial it will be fixed soon.**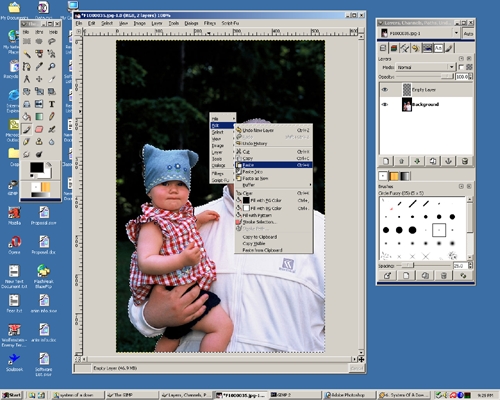
Step 47
**This step looks slightly different than the tutorial it will be fixed soon.**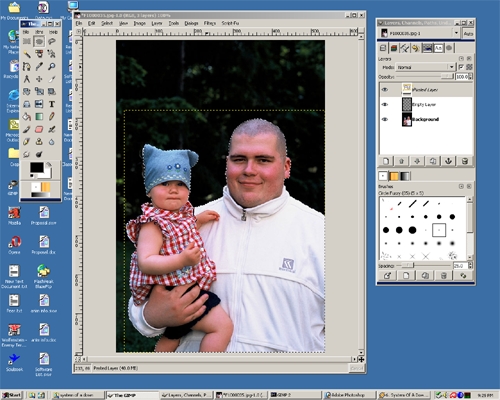
Step 48
Now there is a two layer. The orginal background and the cut man and child. Select the background layer again.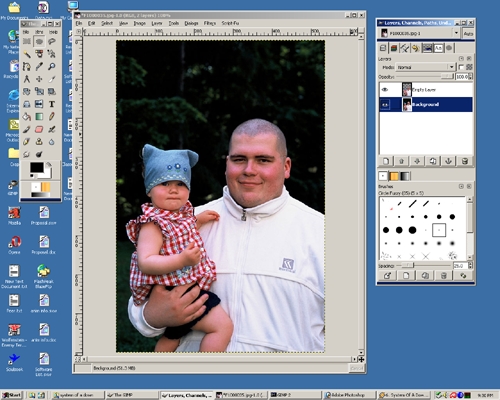
Step 49
Create another new layer.
Step 50
Select that layer and then select the Paint bucket tool from the toolbox. It is the icon to the left 7 rows down and it looks like a paint bucket spilling. Select the white color.Click you left mouse button on the empty space surrounding the child and man. The layer should now be white.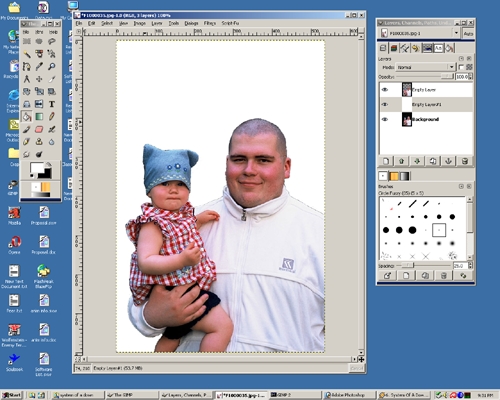
Click to move on - Gimp Tutorial Part 2